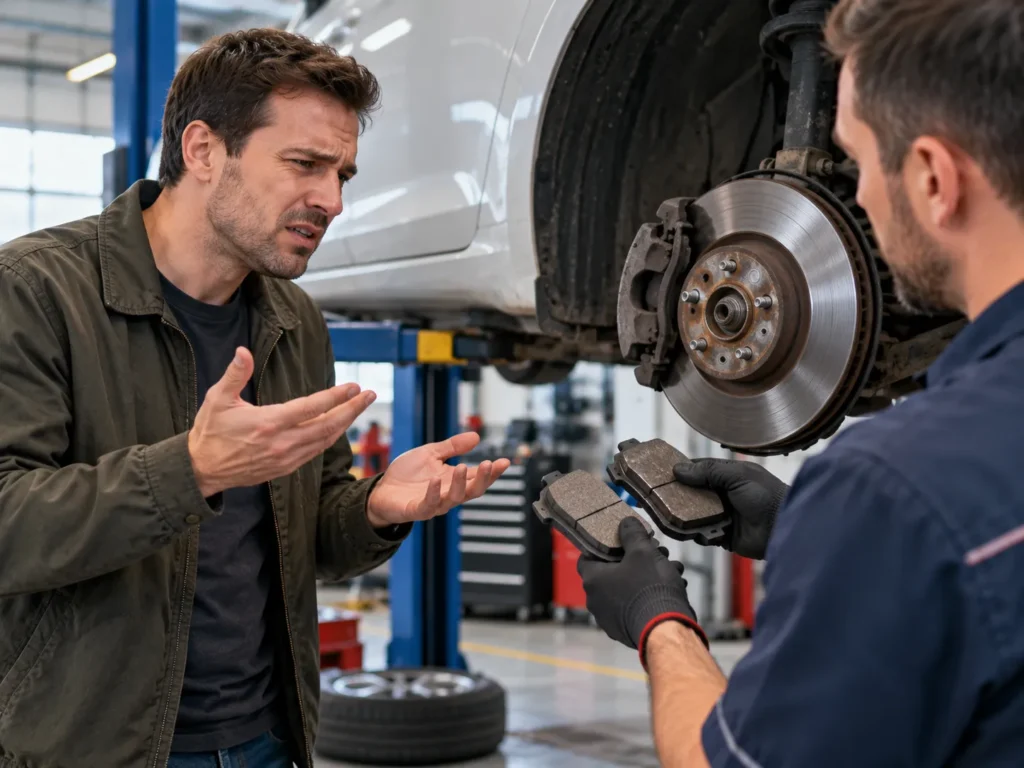

Brake squeal is the high-pitched noise a brake makes when the pad, rotor and caliper start vibrating together at an audible frequency. It is the most common brake comeback in many workshops, and the most misread one. When a customer asks why do brakes squeal, the quick answer at the counter is usually “the pads”—yet in most squealing brakes causes we investigate, the friction material is only one part of the story.
This guide is written for repair shops and auto parts stores. It explains the five causes of brake squeal we see most often, how to confirm each one, and how to fix brake squeal so the car does not come back next week. Along the way it covers what to check on the bench, what to write on a purchase order, and what to ask your pad supplier when brake pad noise keeps returning on the same application.
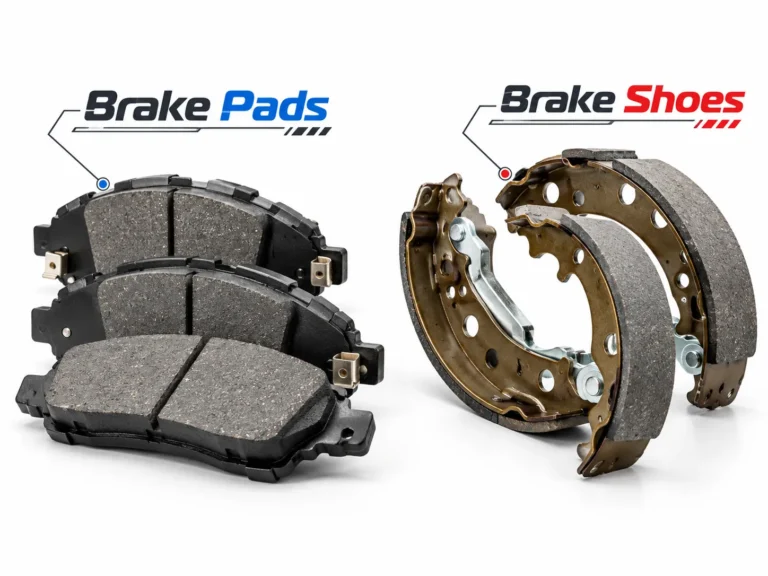
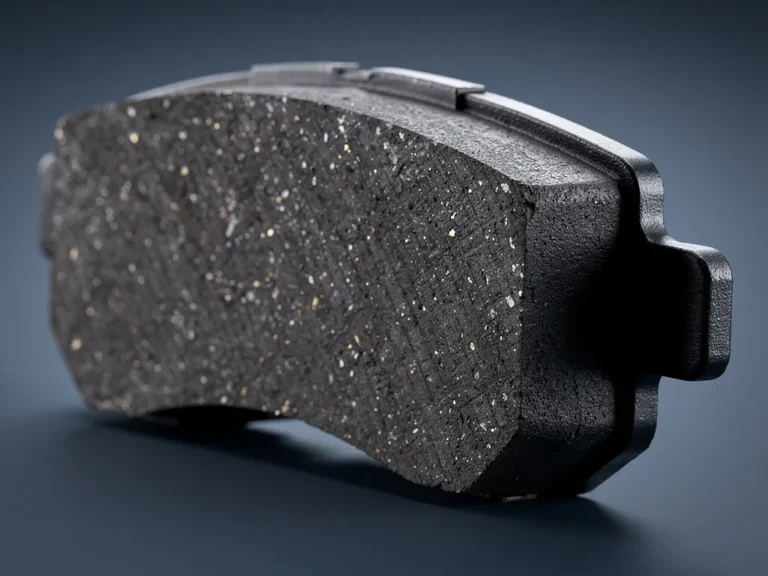
If you need a refresher on pad construction first—backing plate, friction block, shim and wear indicator—our guide to complete pad composition and components covers the basics.
The NVH tests, production checks and customer cases in this article come from our own pad, rotor and shoe lines in Qingyuan, Guangdong.
Five Squeal Causes, One Table
01
What Causes Brake Squeal?
At its simplest, brake squeal is friction-induced vibration. The pad rubs against the rotor, friction forces push and pull the pad slightly at the contact surface, and under certain conditions those small forces feed energy into a natural vibration mode of the brake corner. The rotor behaves like a bell, the caliper and pad act as the striker, and the result is a tone you can hear across the parking lot.
How SAE J2521 Defines Squeal
SAE J2521 defines high-frequency brake squeal in dynamometer testing as a peak noise level of at least 70 dB(A), generally within 1.25–16 kHz when a full suspension corner or axle assembly is tested.
For brake assemblies without the complete suspension corner, the evaluated squeal range is 2–16 kHz, showing that brake noise is measured by both sound level and frequency rather than by subjective listening alone.
Source: SAE International, SAE J2521_202210, Inertia Dynamometer Brake Squeal Noise Test Procedure.
That definition matters at the shop level too. A short chirp on the first cold stop of the morning is not the same problem as a 10 kHz squeal on every light stop at walking pace. Before anyone changes parts, it helps to describe the noise in the same terms an engineer would: when it happens, how loud it is, and whether it is a high-pitched squeal, a low groan, a grinding sound or a metallic scrape from a wear indicator.
Why Brake Squeal Is Not Always Caused by the Friction Material
Brake pad noise comes from the whole brake corner, not from the pad compound in isolation.
Six things decide whether a brake job is quiet
- Friction material: compound type, friction level, hardness and how stable friction stays with temperature and humidity.
- Rotor surface: thickness variation, runout, finish, glazing and the transfer layer left by the pad.
- Pad geometry: chamfer size, slot position, backing plate shape and flatness.
- Shim design and fit: shim type, damping layer, bonding and coverage of the backing plate.
- Caliper and hardware: slide pins, abutment clips, anti-rattle springs and piston condition.
- Installation and bedding: cleanliness, lubrication, torque and the first stops after the job.
A quiet pad on one car can squeal on another car with the same pad shape because the caliper, knuckle and rotor have different natural frequencies. That is why a “premium” compound swapped onto a dirty, glazed rotor with dry slide pins often squeals as much as the pad it replaced. When a squeal returns after a pad change, treat it as a system question first.
How Vibration Between the Pad, Rotor and Caliper Creates Noise
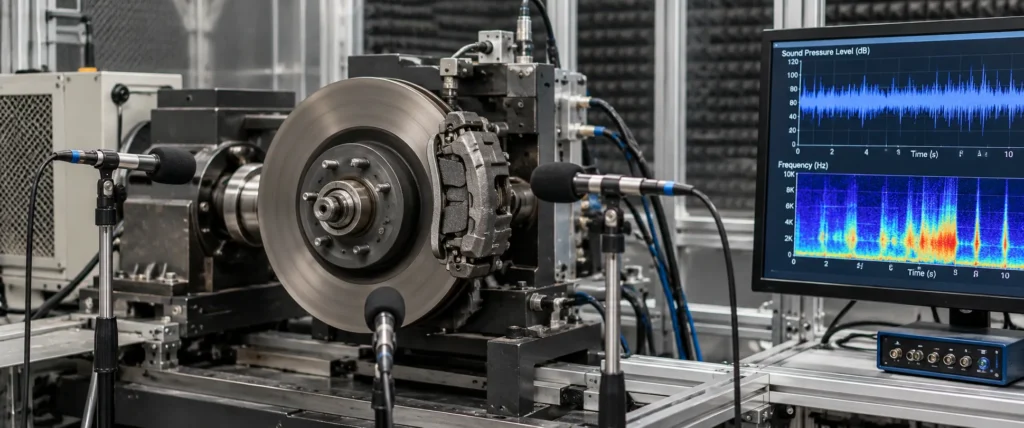
Three mechanisms explain most brake squeal:
- Stick-slip: when friction is higher at low sliding speed than at higher speed, the pad can grab and release the rotor many times per second. This is why light braking at low speed is the classic squeal condition.
- Mode coupling: the rotor and pad each have natural vibration shapes. When friction links two modes with similar frequencies, they can lock together and grow into a sustained tone. Small geometry changes can separate those modes again.
- Sprag and leading-edge contact: if the pad touches the rotor mainly at its leading edge, it can dig in slightly and spring back repeatedly. Chamfers and pad flatness control this behavior.
Damping is the counterweight to all three. Shims, the pad’s own internal damping and a well-supported caliper absorb vibration energy before it becomes sound. Any cause that removes damping or adds excitation—contamination, uneven rotor deposits, a lifted shim, a stuck slide pin—pushes the brake closer to squeal.
02
Cause 1: Brake Pad and Rotor Surface Contamination
Brake pad contamination squeal is one of the easiest causes to miss because the parts may be new. A thin film of oil, grease or brake fluid changes friction on part of the pad face, and the pad starts to slip, grab and vibrate.
Common Sources of Oil, Grease and Brake Fluid Contamination
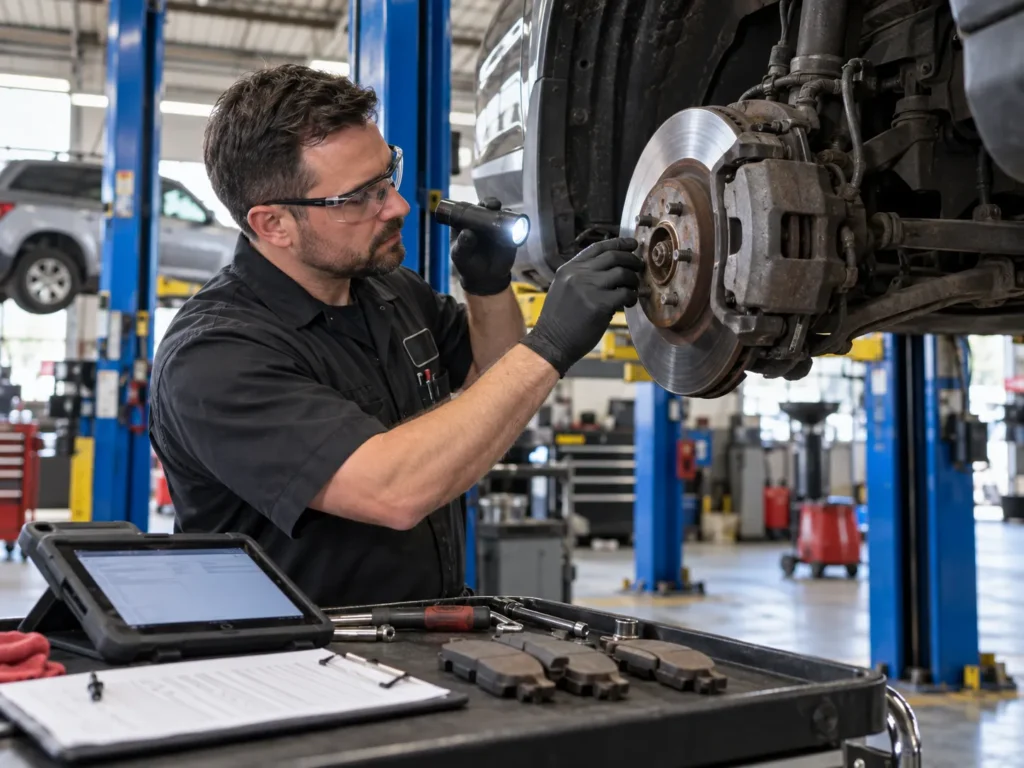
In our experience, most contamination comes from the workshop or the vehicle itself rather than from the factory:
- Brake fluid: a weeping caliper piston seal, a loose bleeder screw or fluid spilled while bleeding the system.
- Axle and hub grease: a leaking axle seal or wheel bearing seal, or grease flung from a damaged CV boot.
- Gear oil and engine oil: leaks from differentials, transmissions or oil filters that drip onto rotors on lifts or in traffic.
- Assembly lubricant: caliper grease or anti-seize on gloves or tools that ends up on the pad face or rotor.
- Rust preventive oil: protective oil left on new rotors and never removed before installation.
- Shop chemicals: tire dressing, silicone sprays or penetrating oil overspray near the wheel.
The pattern often points to the source. Contamination on one wheel only suggests a leak at that corner. Both front wheels after a job suggests a process problem—dirty gloves, uncleaned rotors or overspray.
How Contamination Changes Friction and Creates Squeal
Oil contamination brake noise follows a simple logic, and it explains why brake squeal from contamination is often worst on light stops. Where the film sits, friction drops; where the surface is clean, friction stays normal. The pad no longer sees one even friction level across its face, so it rocks and slips under light pressure—exactly the condition that excites stick-slip and squeal. Heat then bakes the contaminant into a glossy, uneven layer on the rotor, and grease on brakes squealing can continue long after the leak is fixed.
Contamination also affects stopping. Some contaminants cut friction sharply and lengthen stopping distance; others cause grabbing as they burn off. Either way, brake pad contamination is a safety issue, not just a noise complaint.
Solution: Clean, Inspect or Replace the Contaminated Components
How to clean brake pads squeal problems depends on how far the contaminant has gone. Rotors are dense cast iron and can usually be cleaned. Pads are porous; once fluid or grease soaks into the friction block, cleaning the surface will not fix it.
- Find and fix the leak first. Replace the seal, caliper or fitting that caused it, or the problem will return.
- Inspect the pad face. Dark wet patches, a shiny glazed band or a smell of fluid mean the pad should be replaced. Do not try to sand or burn contamination out of a soaked pad.
- Clean the rotor. Use a non-residue brake cleaner on both faces, then wash with hot soapy water and dry. Many technicians finish with a light scuff of the surface to give the new pads a clean start.
- Clean the caliper bracket and abutments. Remove old grease, rust scale and fluid residue before fitting new clips.
- Remove rust preventive oil from new rotors. It is there for storage and shipping, not for braking.
- Change gloves before handling pads. Keep caliper grease away from the friction face and rotor.
- Bed in the new pads using the procedure in the diagnosis section below.
Contaminated Pads Go in Axle Sets
Replace contaminated pads in axle sets, not one side, so friction stays balanced left to right.
Our repair shop team can help you set up a simple brake pad contamination diagnosis routine—photos of the pad face, the leak source and the batch code—so you can tell a service-process issue from a product issue quickly.
03
Cause 2: Uneven Rotor Surface or Poor Pad Transfer Layer
A rotor is not just a steel disc that the pad presses on. During normal braking the pad leaves a thin, even film of friction material on the rotor—the transfer layer. Quiet, consistent braking depends on that film being even. Rotor uneven wear squeal starts when it is not, and it is behind a large share of the brake squeal complaints that survive a pad change.
Rotor Surface Condition and Uneven Friction Deposits
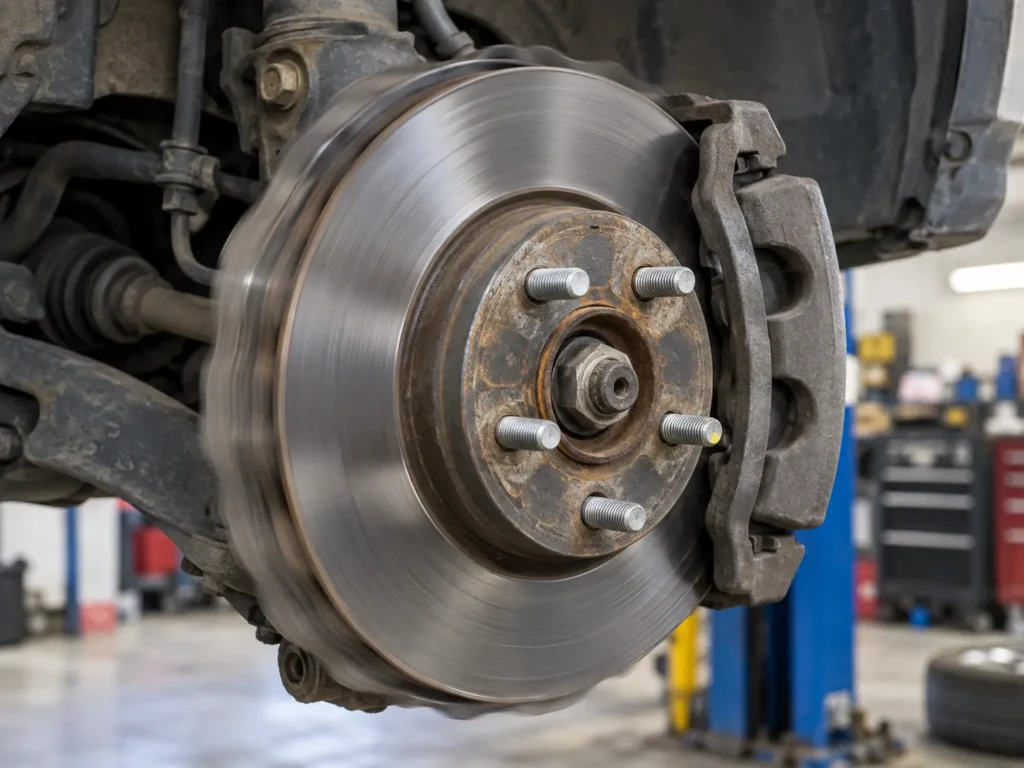
These rotor problems are the ones we see most often behind brake rotor noise:
- Thickness variation (DTV): the rotor is thicker in some places than others, which makes the pad pulse and can trigger noise and pedal pulsation.
- Lateral runout: the rotor wobbles as it turns, often because of rust on the hub face or uneven wheel nut torque. Brake rotor runout noise and vibration usually get worse over the first few thousand miles as the pad touches the high spot and builds uneven deposits.
- Glazing: a hard, mirror-like surface from overheating or light, dragging use. Brake rotor glazing noise is usually a high squeal with reduced bite.
- Patchy deposits: blotchy dark areas where friction material has been printed onto the rotor, often after holding the brake hard on a hot rotor.
- Lip and scoring: a raised lip at the outer edge or deep grooves that stop new pads seating flat.
- Corrosion: rust bands or pitting from vehicles that sit, especially on rear axles.
Rotor thickness specification matters here. In the Brake & Front End Ford Fusion procedure cited later in this guide, the front rotor is 25 mm new, with a minimum thickness of 23 mm and a minimum machining thickness of 24.1 mm. Thin margins like these are common on modern cars, which is why many rotors cannot be machined even once and stay in specification.
How Poor Bedding Can Cause Noise
Poor pad bedding brake squeal happens when the first stops after a brake job lay down the transfer layer unevenly. Two common mistakes cause it: driving away with only gentle stops, so no proper layer forms, or doing a hard stop and then holding the pedal on a hot rotor, which prints a pad-shaped deposit onto the surface. Both leave a rotor with areas of different friction, and the pad responds with vibration and noise.
A correct brake bedding procedure is not optional on a quiet brake job. It is the final step of the installation.
For more background on rotor types, materials and the measurements that decide fitment, see our guide to rotor surface condition and bedding.
Solution: Inspect the Rotor Surface and Restore an Even Transfer Layer
- Measure thickness at several points around the rotor with a micrometer. Compare with the minimum thickness cast or stamped on the rotor and with the service information.
- Measure lateral runout with a dial indicator after cleaning the hub face and torquing the wheel nuts or lug-nut spacers in a star pattern. Use the vehicle specification; many modern cars allow only around 0.05 mm (0.002 in).
- Measure thickness variation around the rotor. Even a very small variation can cause pulsation and uneven deposits over time.
- Inspect the surface for glazing, patchy deposits, heat spots, cracks and lip.
- Decide: machine or replace. Machine only if the rotor will stay above minimum machining thickness. Replace if it is near minimum, cracked, heat-checked or blued.
- Clean after machining with hot soapy water to remove metal particles from the surface.
- Bed in the pads to build a fresh, even transfer layer.
Rotor Limits to Ask For
For replacement rotors, ask the supplier for runout, thickness variation and balance limits on the drawing, plus the material grade. Rotor quality decides how long a quiet brake job stays quiet. Our brake rotors page shows the checks we run on each batch.
04
Cause 3: Incorrect or Poorly Fitted Brake Pad Shims
A shim is the thin layer on the back of the brake pad that sits between the backing plate and the caliper piston or fingers. It is easy to dismiss as a sticker. In practice it is one of the most important noise-control parts in the brake corner, and brake pad shim noise is a frequent cause of comebacks. When brake squeal appears at light pedal pressure on otherwise healthy parts, the shim is often the first thing to check.
How Brake Pad Shims Help Control Vibration
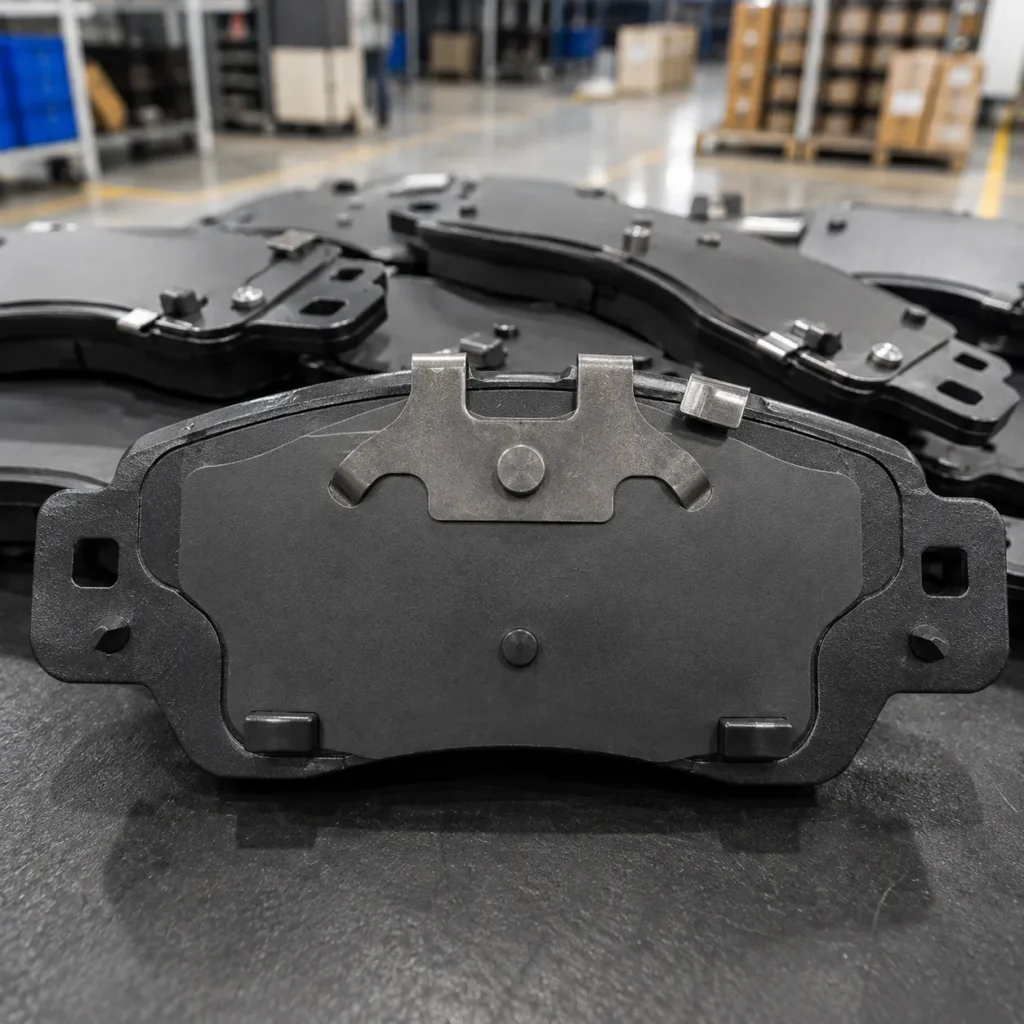
Shims reduce noise in three ways:
- Damping: multilayer and rubber-coated shims include a viscoelastic layer that turns vibration energy into a small amount of heat.
- Decoupling: the shim separates the pad from the piston and caliper fingers, so vibration does not travel directly into the caliper body.
- Even load: a flat, well-bonded shim helps spread piston force across the backing plate and keeps the pad face in even contact with the rotor.
Common Shim Fitment and Bonding Problems
The problems we see most often:
- Missing shim: the pad shipped without one, or it was removed during installation.
- Loose brake pad shim: a shim that lifts at the edges or moves by hand cannot damp vibration properly.
- Brake shim bonding failure: the adhesive layer separates from the backing plate after heat cycles, often because of poor surface preparation or the wrong adhesive for the temperature range.
- Wrong shim type: a single-layer shim on an application whose OE pad used a multilayer shim.
- Wrong size or position: a shim that does not cover the piston contact area, or one that overhangs and touches the caliper bracket.
- Shim not fitted correctly squeal: a clip-on shim installed upside down, or an OE-style loose shim reused in the wrong orientation.
Solution: Inspect Shim Condition, Fit and Installation
- Compare the new pad with the old pad. If the old pad had a multilayer or clip-on shim and the new one has a basic shim, question the part before installing it.
- Check bonding. Try to lift the shim edge with a fingernail. It should not peel, bubble or move.
- Check coverage. The shim should cover the area where the piston and caliper fingers contact the backing plate.
- Check that nothing overhangs the backing plate or touches the bracket.
- Follow the pad maker’s lubrication instruction. Some shims must stay dry; others need a thin layer of approved brake grease on specific contact points. Do not add grease to the friction side.
- Do not reuse damaged shims. Brake pad shim replacement is part of the job when the original shim is bent, delaminated or contaminated.
Specify the Shim, Don’t Inherit It
Write the shim specification instead of leaving it to the supplier’s default, for example: “Multilayer rubber-coated shim, type [X], bonded; shear and peel checked per batch; no change of shim type without written approval.”
Shim selection, adhesive types and failure patterns deserve their own guide: see brake pad shims explained for the main types, materials and inspection checks.
05
Cause 4: Brake Pad Chamfer, Slot or Friction Material Characteristics
When the corner is clean, the rotor is in specification and the hardware is correct, but one vehicle platform still squeals, the next place to look is the pad design itself. Brake pad chamfer noise, slot position and the friction compound all change how the pad vibrates.
A 0.5 mm Chamfer Change on the Dyno
Our 2026 dyno work on the Qingyuan pad line showed that even a 0.5 mm change in chamfer geometry could noticeably change pad contact behavior during NVH evaluation.
That is why we control friction formulation, chamfer dimensions, slot position and shim fit together rather than treating the friction compound as the only factor behind brake squeal.
How Pad Geometry Affects Contact and Vibration
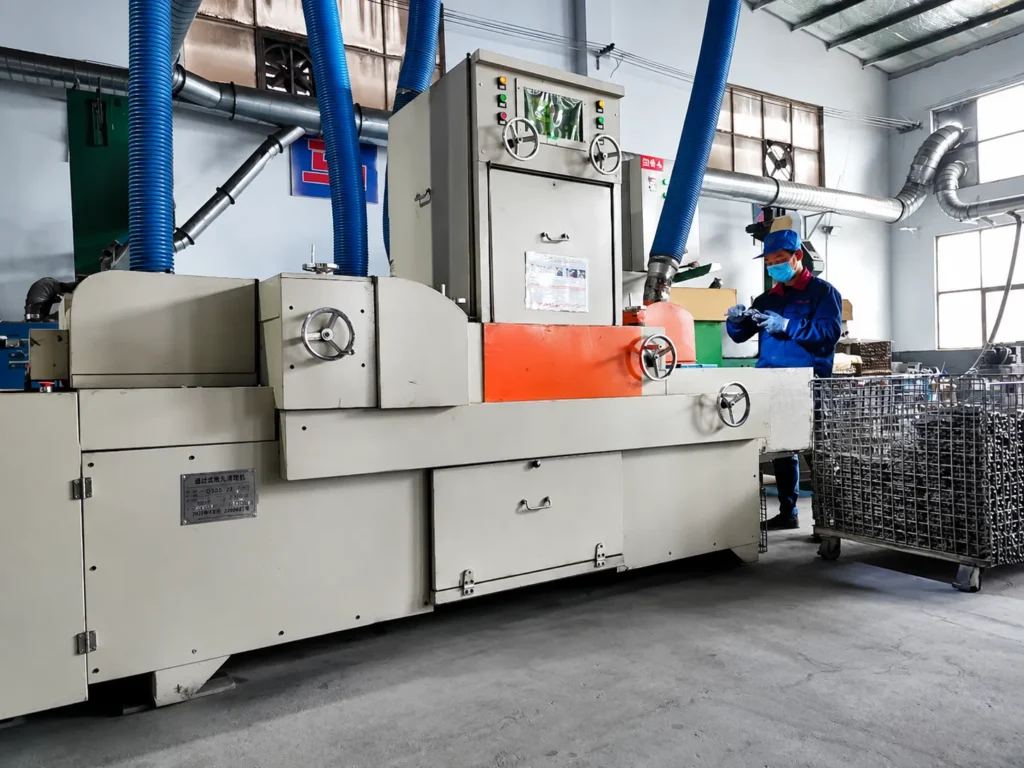
Each geometry feature has a specific job:
- Chamfers: the angled cuts on the leading and trailing edges of the friction block reduce leading-edge digging, soften the first contact and change the pad’s vibration modes.
- Slots: a radial or angled slot divides the friction block, changes its stiffness and natural frequency, and gives gas and dust a path out of the contact.
- Radius and flatness: the pad face must match the rotor’s swept area and sit flat. A pad that is not ground flat contacts at a few points first.
- Backing plate: thickness, flatness and the shape of the abutment ears decide how the pad sits in the bracket and how much it can move.
Pad slot design brake noise is a real effect: the same compound can be quiet with one slot position and noisy with another, because the slot moves the pad’s natural frequency away from or toward a rotor mode.
Why Friction Material Alone Does Not Determine Noise
Friction material squeal does exist. Some compounds have a friction level that rises sharply at low speed, which favors stick-slip. Harder, more abrasive formulations can excite rotor modes more strongly. That is why semi-metallic brake pads squeal more often than many ceramic formulations on light passenger cars. But compound is only one lever, and changing compound without looking at geometry and shims often trades one noise for another.
Chamfer and Shim Fit Behind a Low-Speed Squeal
On June 18, 2024, our NVH team investigated repeated low-speed squeal on a ceramic formulation built for a Toyota Corolla passenger-car project, heard mainly under light braking at around 10–20 km/h.
Our follow-up test reproduced the noise in 6 of 10 stops; after changing the chamfer from 1.0 mm to 1.5 mm and fitting a multilayer shim, squeal dropped to 1 of 10 stops.
The case showed that pad geometry and shim configuration could be as important as the friction material itself.
The compound stayed the same in that case. What changed was the geometry and the damping.
For a closer look at how metal-rich compounds behave and how their pad design NVH characteristics are managed, see pad design NVH characteristics in our semi-metallic guide.
If you are deciding which friction family to stock for a noise-sensitive application, our comparison of the ceramic pad vs semi-metallic noise profile sets out the trade-offs in noise, dust, heat and rotor wear.
Solution: Match the Pad Design to the Application and NVH Requirements
- Start from the OE pad. Note the OE friction family, shim type, chamfer, slot and wear indicator.
- Match the geometry, not just the outline. A pad that fits the bracket but has no chamfer or a different slot can behave very differently.
- Match the friction family to use. Ceramic for most commuter cars where quiet, clean braking matters; semi-metallic or low-metallic where heat and load demand it.
- Ask for NVH evidence on noise-sensitive platforms: dynamometer results, or at least a documented road test with the production shim and chamfer.
- Lock the design. Once a pad is quiet, the compound, chamfer, slot and shim should not change between batches without approval.
- Track comebacks by part number. If one SKU generates most noise returns, send the vehicle details and photos back to the supplier.
You can review our ceramic, semi-metallic and low-metallic ranges, with chamfer and shim options per application, on our brake pads page.
06
Cause 5: Caliper, Hardware or Installation Problems
A perfect pad on a perfect rotor will still squeal if it cannot move and apply evenly. Brake caliper noise and hardware problems are the fifth major cause of brake squeal, and they often show up together with uneven pad wear.
Sticking Slide Pins and Uneven Pad Movement
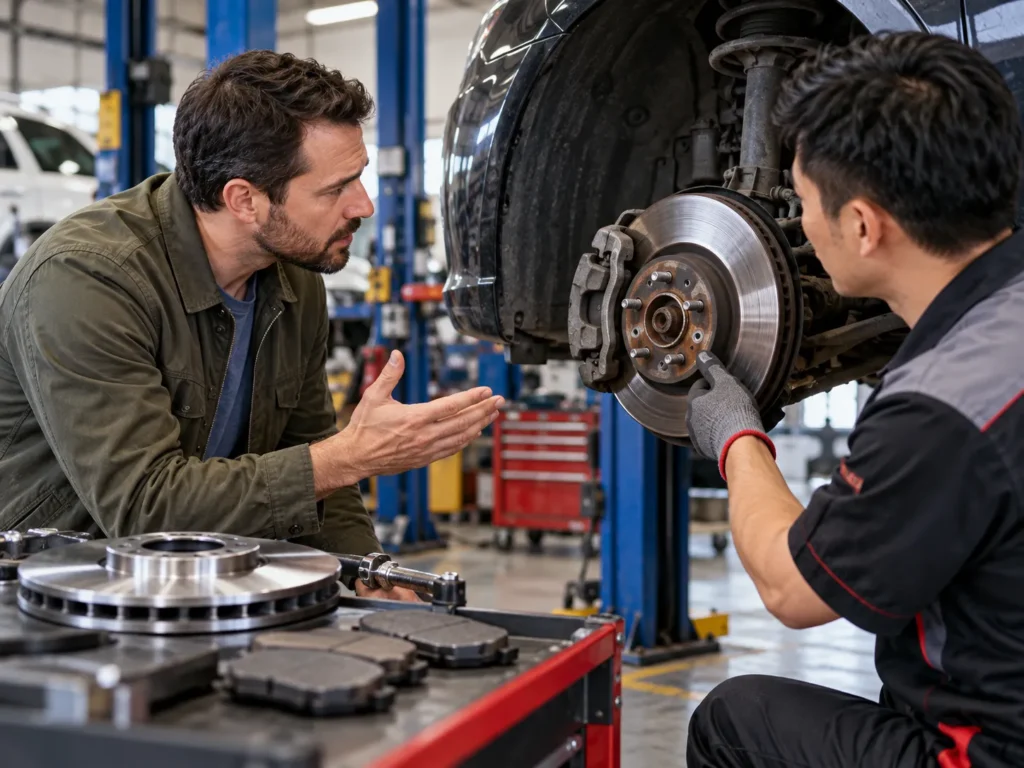
On a floating caliper, the slide pins let the caliper body move so both pads apply with equal force. When a pin is corroded, bent or packed with the wrong grease, the caliper hangs. The inner pad does most of the work, the outer pad drags or sits at an angle, and the result is sticking slide pin brake squeal, heat and tapered wear.
Signs of a caliper slide pin stuck:
- Inner and outer pad thickness differ noticeably.
- One pad is worn into a taper from end to end.
- The pin will not slide freely by hand once the caliper is off the bracket.
- The rubber boot is torn, swollen or missing.
- The wheel is hotter than the opposite side after a drive.
Worn or Incorrect Anti-Rattle Hardware
Abutment clips and anti-rattle springs hold the pad ears in the bracket and preload the pad so it cannot vibrate freely. Over time they lose tension, corrode or wear grooves where the pad ears slide. Worn anti-rattle hardware noise appears as squeal under light braking, rattles over bumps or a click when changing from forward to reverse. Anti-rattle clip noise is common when old clips are reused with new pads that sit slightly differently.
Incorrect Pad Installation or Insufficient Lubrication
Installation mistakes that create noise include:
- Pads installed in the wrong position, such as the wear-indicator pad on the wrong side.
- Clips not fully seated, so the pad ear rides on rust instead of a clean stainless surface.
- Dry contact points where the pad ears slide, or grease on the wrong surface.
- Petroleum-based grease on slide pins, which can swell rubber boots and make pins stick.
- Rust scale left on the bracket abutments, so pads bind.
- Caliper bolts and wheel nuts not torqued to specification.
Caliper lubrication brake squeal is usually a “too little in the right place, too much in the wrong place” problem. Use a high-temperature brake lubricant that is compatible with rubber boots, apply a thin film to the slide pins and pad contact points, and keep it off the friction face and rotor.
Solution: Inspect the Complete Caliper and Hardware System
- Remove and inspect the slide pins and boots. Clean the pins and bores, replace pins that are pitted or bent, and replace torn boots.
- Lubricate the pins with brake lubricant suitable for rubber parts. The caliper should slide by hand with light, even resistance.
- Clean the bracket abutments down to bare metal with a wire brush or file.
- Fit new abutment clips and anti-rattle springs. Hardware is cheap compared with a comeback.
- Check the piston for smooth retraction and a healthy dust boot.
- Install pads in the correct positions, with wear indicators where the service information shows them.
- Torque caliper bracket bolts, guide pin bolts and wheel nuts to specification in the correct sequence.
- Confirm free movement: pump the pedal, then spin the wheel by hand to check for heavy drag.
Our caliper inspection checklist for repair shops turns these points into a simple sign-off sheet your technicians can attach to the repair order. A detailed guide to diagnosing and repairing sticking slide pin brake squeal is also on our editorial plan.
07
How to Diagnose Brake Squeal Step by Step
Good brake squeal troubleshooting follows the same order every time. These brake noise diagnosis steps start with the noise itself and work from the easiest checks to the most detailed, so you can find the cause of the brake squeal before ordering parts.
Identify When the Noise Occurs
Before lifting the car, road-test it with the customer if possible and record
- Speed: walking pace, city speed or highway.
- Pedal pressure: light, moderate or hard braking.
- Temperature: first stops when cold, or only after the brakes are hot.
- Weather: dry, wet or humid mornings.
- Direction: forward only, or also in reverse.
- Location: front or rear, left or right, as best you can tell.
Inspect Pad Wear and Contact Patterns
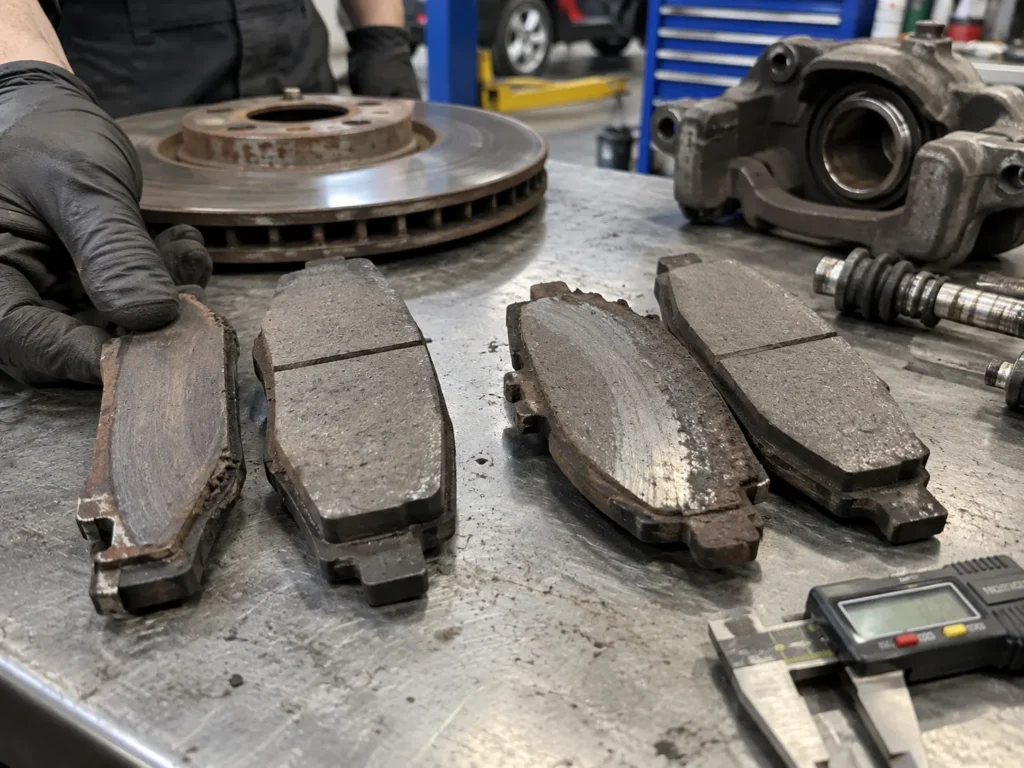
Remove the wheels and pads and compare them side by side.
- Measure pad thickness on inner and outer pads at both ends.
- Look for taper from end to end or top to bottom.
- Look at the friction face for glazing, cracks, lifted edges, embedded debris or wet patches.
- Check the contact pattern. A full, even pattern is good; contact only at the edges or in one corner points to geometry, flatness or caliper problems.
- Check the wear indicator for contact with the rotor.
Brake pad wear squeal is common when pads are close to their limit. Brake pad thickness minimum values vary by vehicle, but many service procedures call for replacement at about 3 mm of friction material.
Check Rotor Surface Condition
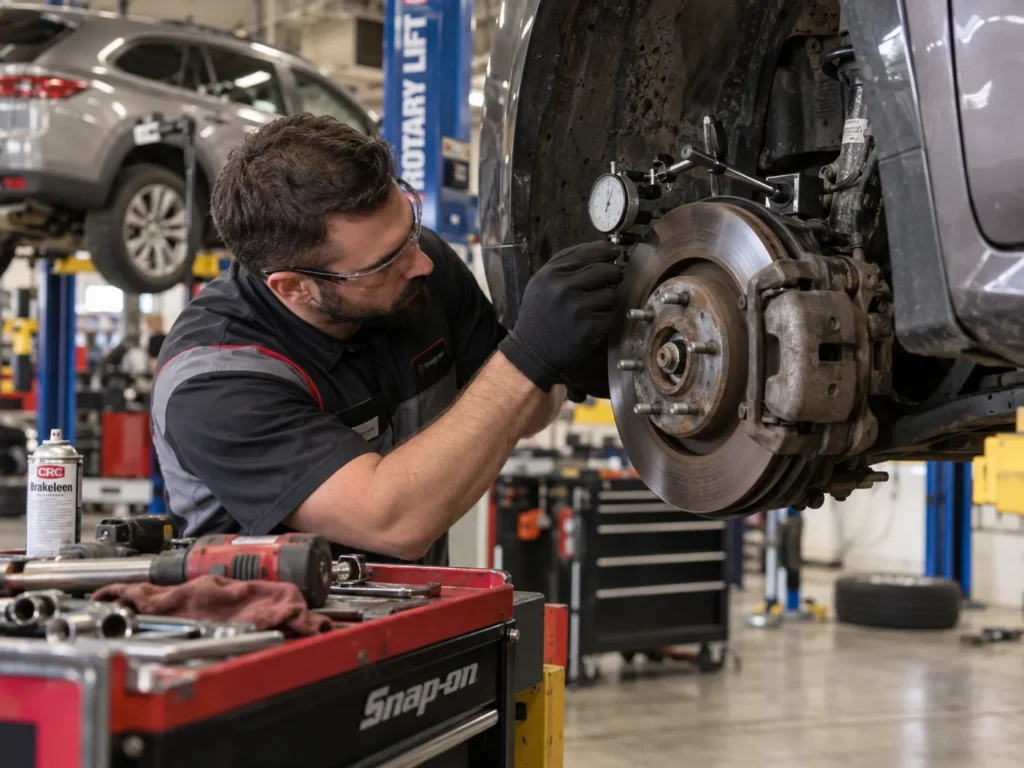
- Clean the hub face and reinstall the rotor with wheel nuts torqued evenly if you need to measure runout on the car.
- Measure lateral runout with a dial indicator against the specification.
- Measure thickness at several points and compare with minimum thickness.
- Look for glazing, heat spots, blue discoloration, cracks and patchy deposits.
- Check for a lip at the outer edge that would stop new pads from sitting flat.
Inspect Shims, Clips and Hardware
- Confirm each pad has the correct shim and that it is fully bonded or clipped.
- Check abutment clips for wear grooves, loss of tension and corrosion behind the clip.
- Check anti-rattle springs for correct position and tension.
- Look for contamination on shims and clips.
Brake & Front End’s Ford Fusion Procedure
Brake & Front End recommends inspecting brake pads and shims for wear or contamination and verifying correct shim and hardware installation during brake service.
In one published Ford Fusion service procedure, pad thickness was specified at a minimum of 3 mm, side-to-side pad variation at no more than 2 mm, and taper at no more than 2 mm—useful examples of why noise diagnosis should include fit, wear pattern and hardware rather than simply replacing the pad.
Source: Brake & Front End, Andrew Markel, “Ford Fusion Brake Job, Rotors, Front Pads,” August 13, 2009.
Check Caliper Movement and Installation
- Slide the caliper on its pins by hand. It should move smoothly without binding.
- Check the piston for corrosion, a torn dust boot or slow retraction.
- Check bolt torque on bracket and guide pin bolts.
- Confirm pad position, including the inner and outer pads and the wear indicator location.
- Spin the wheel after pumping the pedal and feel for drag.
Perform a Controlled Road Test After Correction
After the repair, bed in the pads and repeat the original road test.
A typical brake bedding procedure looks like this
- Warm up the brakes with two or three gentle stops.
- Make 8–10 moderate stops from about 35 mph (55 km/h) down to about 5 mph (10 km/h) without coming to a complete stop.
- Make 3–5 firmer stops from about 45 mph (70 km/h) down to about 5 mph.
- Drive for several minutes with little braking to let the rotors cool.
- Avoid holding the brakes on hot rotors at the end of the procedure.
- Repeat the original noise test at the same speed, pressure and conditions the customer described, and note the result on the repair order.
Follow any specific bedding instructions from the pad manufacturer; some compounds and performance pads use different speeds or numbers of stops.
08
Why New Brake Pads Can Still Squeal
Customers often ask “do new brake pads squeal?” They can, and new brake pads squealing is one of the most frustrating calls a shop takes. Brake squeal after pad replacement nearly always traces back to one of four things, and none of them is solved by fitting a second set of pads.
Bedding-In Problems
New pads need a controlled break-in to build an even transfer layer. If the car was driven away without bedding, or the first stops included a hard stop followed by holding the brake, the rotor may have uneven deposits. Re-bedding solves some cases; heavy deposits may need the rotor cleaned or machined first. We are preparing a dedicated guide on bedding-in brake pads with procedures by friction type.
Rotor Condition After Pad Replacement
Fitting new pads on worn or glazed rotors is the most common cause of brake noise after installation. The new pad has to wear itself into the old surface, and until it does, contact is uneven. Measure the rotors on every pad job. Replace or machine them if they are near minimum thickness, out of runout specification or visibly glazed. Our upcoming guide to the signs of bad brake rotors will cover visual and measured symptoms in more detail.
Reused or Incorrect Hardware
Old clips and springs that worked with the worn pads may not hold the new, thicker pads correctly. Reused slide pins may still be sticky. The cost of a hardware kit is small compared with a second labor hour.
Pad Design and Vehicle-Specific NVH Behavior
Some vehicles are more noise-sensitive than others. If the replacement pad uses a different friction family, shim type or chamfer than the OE pad, it may squeal on that platform even when everything else is right.
Our guide Are Ceramic Brake Pads Good for your vehicle explains where ceramic friction is the quieter choice and where it is not.
09
When Should Brake Pads or Rotors Be Replaced Instead of Repaired?
Not every brake squeal solution involves new parts, but some conditions cannot be fixed by cleaning or adjustment, and leaving them in place means the brake squeal will return. These four are clear replace signals.
Contaminated Friction Material
If brake fluid, grease or oil has soaked into the friction block, replace the pads on both sides of the axle. Cleaning removes only the surface film, and the contaminant will keep coming to the surface as the pad heats up.
Severely Uneven Pad Wear
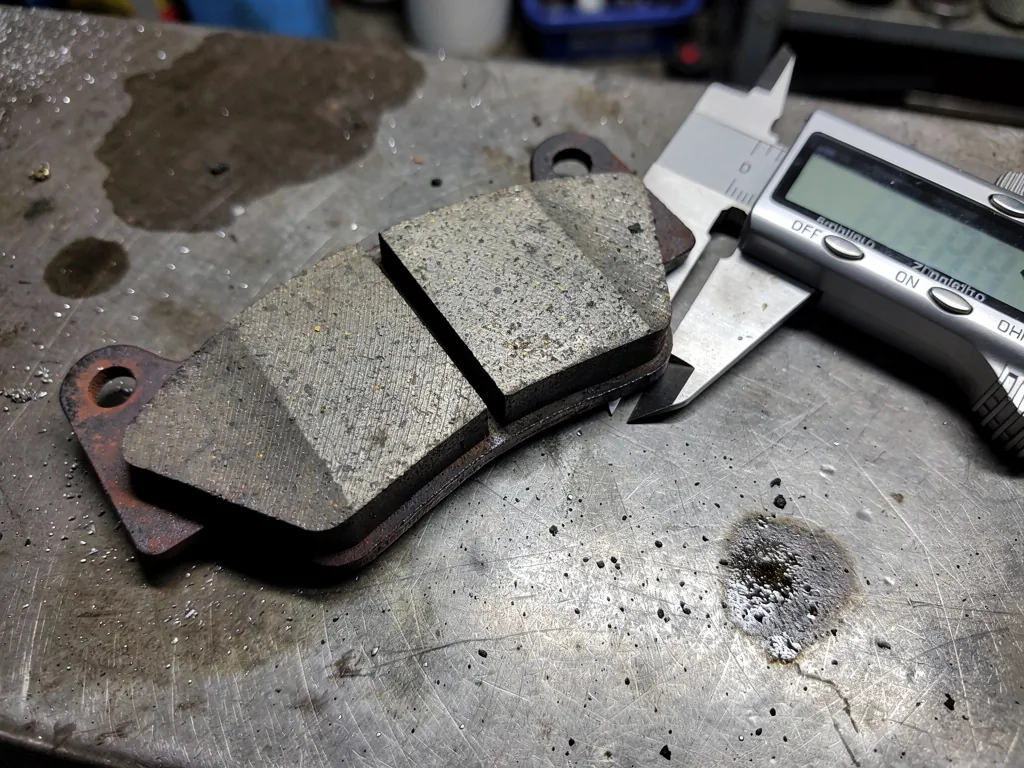
Replace the pads if inner and outer pads differ by more than the service limit—2 mm in the Brake & Front End Fusion example—or if one pad is tapered beyond specification. Then find the cause, usually a stuck slide pin, a seized piston or a bent bracket, before fitting new pads.
Damaged or Overheated Rotors
Replace rotors that are below minimum thickness, would go below minimum machining thickness after resurfacing, show cracks or heat checking, have hard spots or blue discoloration, or remain out of runout specification after the hub face is cleaned. A rotor that has been badly overheated will often keep generating noise and pulsation even after machining.
Cracked, Loose or Damaged Shims and Hardware
Replace pads whose shims are delaminated, cracked or lifting, and replace clips and springs that are corroded, worn or bent. Shims bonded to the pad cannot be renewed separately on most aftermarket pads.
How often to replace brake pads depends on vehicle, use and friction material, so there is no fixed mileage. The safe approach is to measure at every service and replace at the minimum thickness in the service information.
10
What Repair Shops Should Check Before Blaming the Brake Pad
When a pad comes back for noise, a structured check protects the shop, the parts store and the supplier. It shows whether the cause is the part, the corner or the installation—and it gives everyone evidence instead of opinions.
Why We Open the Batch File on a Noise Complaint
A noise complaint here does not start with the friction material. Because our certified quality system requires every production batch to be traceable through manufacturing and QC records, we investigate squeal against the full production and inspection history of that batch rather than judging the compound alone.
A good brake system inspection before a brake squeal warranty claim covers five areas.
Friction Material
Confirm the part number, friction family and batch code against the order. Check whether the pad face shows glazing, cracking, contamination or lifted edges. Note whether the compound matches the OE friction family for that vehicle.
Rotor Surface
Record thickness, runout and surface condition, ideally with photos. If the rotors were reused, say so. A new pad on an old rotor is the single most common reason a noise claim is rejected.
Shim and Pad Geometry
Check that the shim is present, correct and bonded, and that chamfers and slots match the OE pad or drawing. Compare with a sample from stock if the claim involves several cars.
Caliper and Hardware
Record slide pin condition, boot condition, clip condition and whether new hardware was fitted. Uneven pad wear is strong evidence of a caliper problem.
Installation and Bedding Procedure
Note the lubricant used, torque values and whether the pads were bedded in. Squeaky brakes diagnosis is far quicker when the repair order already records these points.
The Evidence Pack for a Noise Claim
Ask your pad supplier to accept noise claims with this evidence pack and to respond with the production and inspection records for that batch. You can see how we link incoming materials, process checks and final inspection in our quality inspection process.
11
Frequently Asked Questions About Brake Squeal
Why Do New Brake Pads Squeal?
Usually because of the rotor, hardware or bedding rather than the pad itself. Old or glazed rotors, reused clips, dry slide pins and skipped bedding all cause new pads to squeal; a pad design that does not match the OE shim and chamfer is the next thing to check.
Can Brake Dust Cause Brake Squeal?
Rarely on its own. Brake dust can cause squeal for a short time when it is trapped between pad and rotor, but persistent brake squeal usually points to shims, rotor surface or hardware. Cleaning the brakes may quiet them for a few days without fixing the cause.
Can Bad Rotors Cause Brake Squeal?
Yes. Glazed, unevenly worn or out-of-runout rotors are one of the most common causes. Measure thickness and runout on every pad job and machine or replace rotors that are out of specification.
Do Brake Pad Shims Reduce Noise?
Yes. Multilayer and rubber-coated shims damp vibration and separate the pad from the caliper, which is why they are standard on most noise-sensitive applications. A missing, loose or wrong-type shim removes that damping.
Are Semi-Metallic Brake Pads More Likely to Squeal?
Often, yes, especially on light passenger cars, because metal-rich compounds are harder and more abrasive. Good shims, chamfers and a clean rotor reduce the difference. Our guide What Are Semi-Metallic Brake Pads explains when they are still the right choice.
Can Brake Squeal Occur Even When the Pads Are Not Worn Out?
Yes. Squeal on thick pads usually comes from contamination, rotor deposits, shims or caliper hardware. A squeal that appears only when pads are nearly worn may be the mechanical wear indicator, which is designed to make noise.
Do Ceramic Brake Pads Squeal Less Than Semi-Metallic Pads?
Generally, yes. In most ceramic brake pads squeal vs semi-metallic comparisons on passenger cars, ceramic is the quieter option, but a ceramic pad with a poor shim or on a glazed rotor can still be noisy. Match the friction family to the OE design and the vehicle’s use.
How Much Does It Cost to Fix Brake Squeal?
It depends on the cause. Cleaning and lubricating hardware is often well under an hour of labor per axle, while new pads, rotors and hardware cost far more. Brake squeal repair cost is lowest when the shop diagnoses first instead of replacing pads by default.
How Do You Stop Brakes From Squealing Without Replacing the Pads?
To stop brakes from squealing without new parts, clean the rotor and bracket, service the slide pins, fit new clips, check that the shims are bonded and bed the pads in again. If the pads are contaminated, glazed or have damaged shims, replacement is the only reliable fix.
If the same squeal keeps returning on one application, our technical team can review photos, part numbers and batch codes with you. Learn more about our repair shop solutions, or explore our full range of repair shop solutions for brake pads, rotors and shoes supplied with noise-control specifications and batch traceability.